How to Conceal a Gun: Real Bodies, Real Lives
Most people who struggle with concealed carry are looking for a gear solution to a knowledge problem. They search for the best holster, the best belt, the best carry position. None of those questions have a universal answer. It's like searching for the best shoe without knowing your shoe size.
PHLster has helped thousands of people fit concealed carry into their lives: different body shapes, different constraints, different lifestyles. Patterns emerged from the data. What we found was simple. One process, three steps. Position, diagnose, correct. Everyone who succeeds at concealed carry is doing this, whether they can name it or not.
Built on thousands of case studies: PHLster's Concealment Workshops, in-person classes, video calls, and our community. More real-world carry data than any other source.
Three steps. Works with any brand.
The steps are the same for everyone, but the results are as unique as you are. You can try these steps at home and make immediate improvements to your setup, oftentimes without even needing to buy new gear.
Life happens, bodies change.
Whether due to age, weight fluctuations, fitness changes, or pregnancy, your body will change. You can run through this process again anytime you need a checkup. Even if it's just because you ate pizza for lunch.
Find your concealment sweet spot, the position where your body can best hide a gun. Get this wrong and nothing else will fix it.
Use the poke and check method to find out exactly what part is printing, where, and why. Used throughout the process.
Apply what the diagnosis calls for: a holster wing, a wedge, or belt tension. Most people are surprised how much improvement is possible with technique alone.
Steps 2 and 3 form a loop. Run them until you're satisfied with your concealment. Most people need two or three passes.
The recommended learning path
Safety first. After that, there are three main concealment topics, collectively called the Concealment Mechanics. Work through them in order, or jump to what you need. If nothing is working, go back and double-check your Sweet Spot.
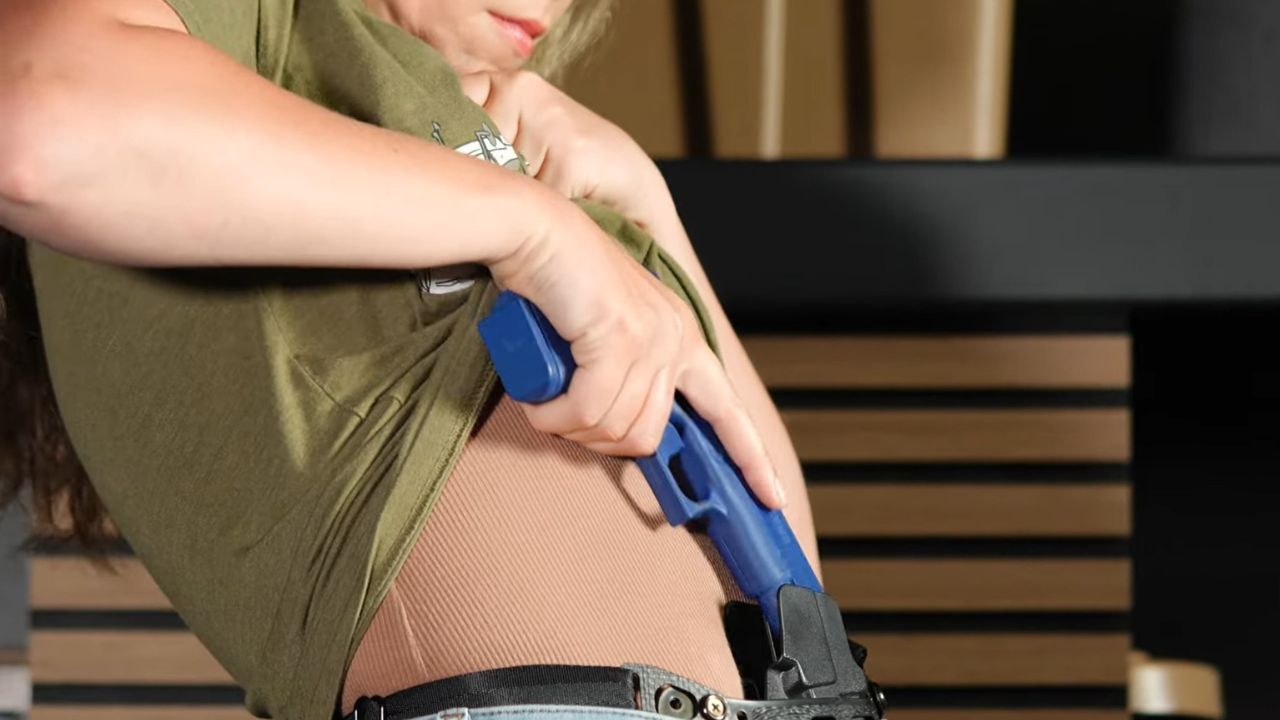
Learn how to safety check your gear and use proper techniques that help keep you safe. First priority, before you start dialing in your concealment.
Start with Safety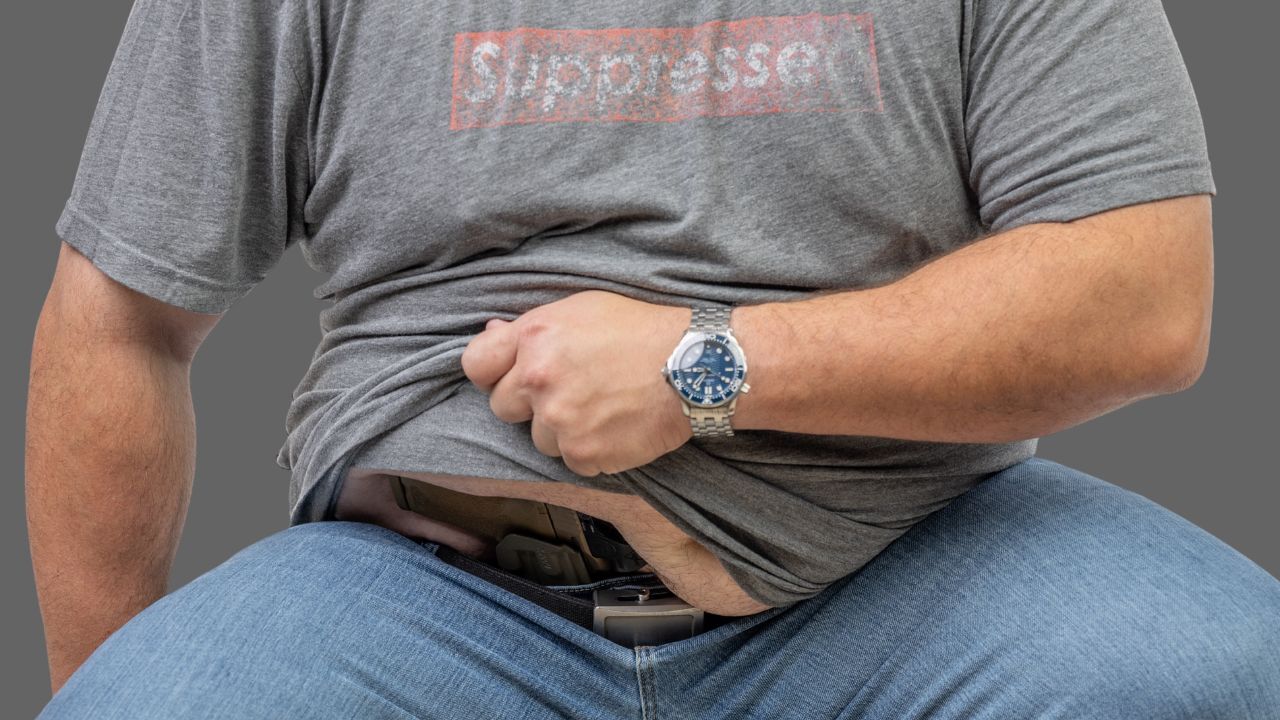
How to find the best carry position for YOUR body. Most people get it wrong at first, but it's straightforward when you know what to look for.
Find Your Sweet Spot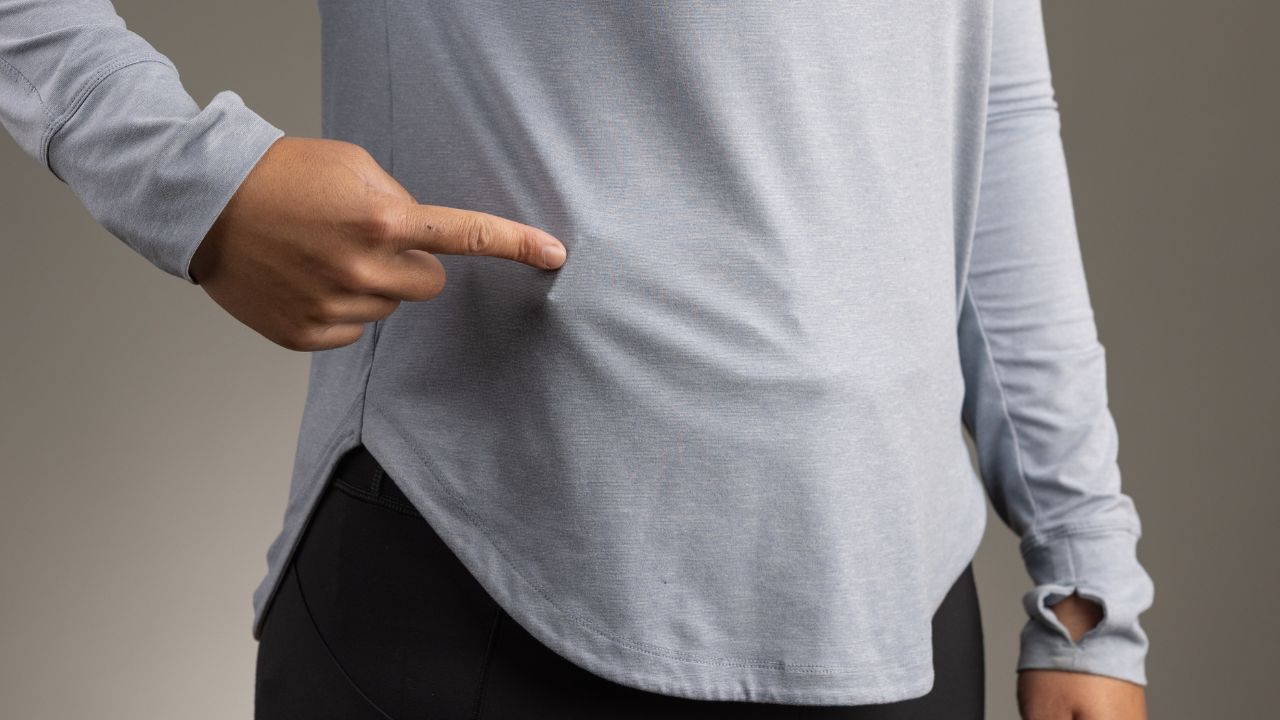
Learn how to diagnose and correct problem areas and get as close to invisible carry as your setup allows.
Stop Printing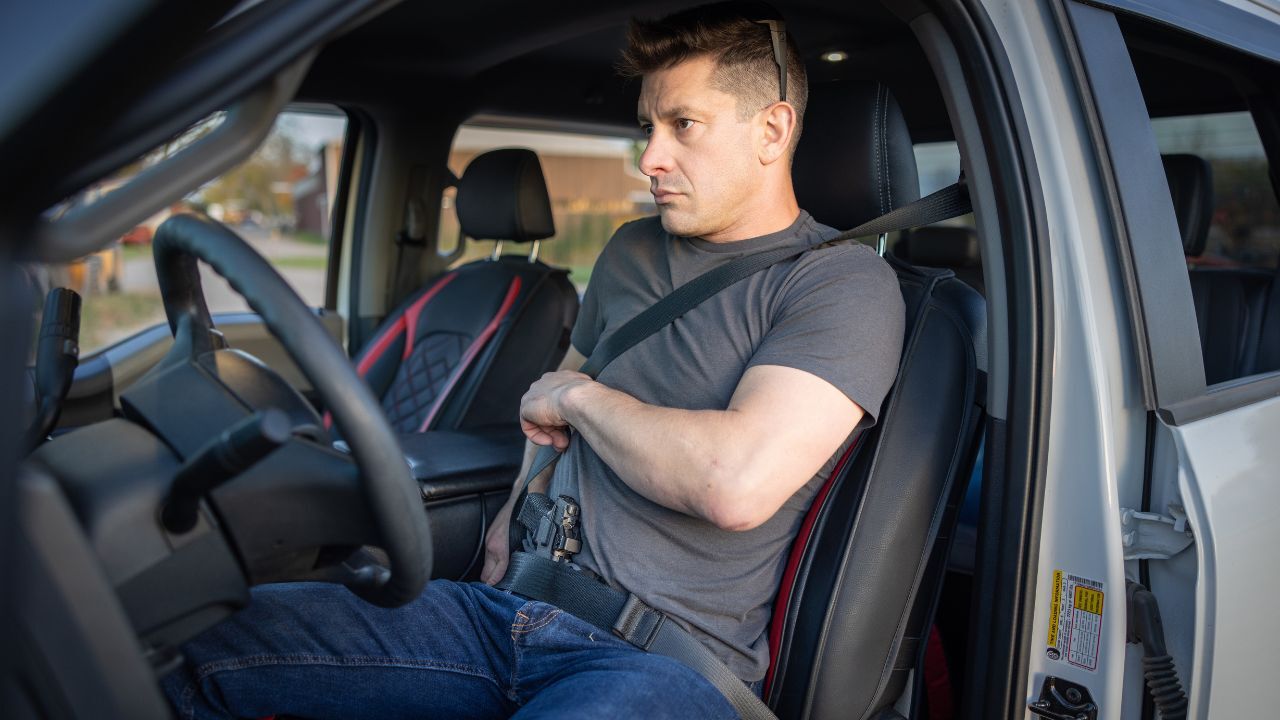
Once your Concealment Mechanics are dialed in, comfort is the final step. The goal is to carry all day without thinking about it.
Get ComfortableFind what you need
Reference pages, deep dives, and tools.
Complete beginner's guide to appendix carry, with video and photo lessons.
How to make it comfortable on bigger body types.
Find the right size gun for your body with this easy calculator.
Change your grip tuck by adding a wedge.
Change your grip rotation with a wing.
Why short guns are hard to carry, and what to do about it.
Advanced techniques for concealing below the waistband.
Diagnose the root cause of printing, and learn to solve it.
Comfortable carry is a skill. Learn it here.
How to evaluate your body's landscape.
Real examples of how different body types solved their carry.
How tight does your belt really need to be for good concealment?
Belt buying guide for traditional waistband and Enigma carry.
Free resources you can use in your classes.
Key terms
The concealed carry terms you'll encounter most.
The position on your body where you can get the best concealment, given your anatomy, clothing, gun size, and carry position.
PHLster's diagnostic technique for identifying exactly where and why a gun is printing. Press in on the spot where it's printing, and observe how the gun moves on your body.
When the outline of a concealed gun is visible through clothing. Usually the grip, sometimes the muzzle.
An attachment that uses belt pressure to rotate the grip of the gun toward the body.
A pad that tilts the muzzle away from the body, rotating the grip in. Different shapes and sizes can have different effects on your concealment.
The size of your gun is relative to the size of your body. This concept helps you find the right size gun so concealment isn't such a struggle.
Short-muzzled guns can sometimes be harder to conceal than their larger counterparts because they have less mass and length below the belt to provide stability.
Appendix Inside the Waistband carry. Gun at the front of the body, generally between the hip bones.
Free to use for teaching. All content here is free to use in classes, instructor curricula, and community education. No permission needed. PHLster's goal is to help every carrier, regardless of what gear they use.