The 3 KEY Principles to Understanding Concealment
- Oct 29th 2024
- By
Concealment is made up of three KEY principles: Grip tuck, slide tuck, and body placement paired with fabric drape. In this post we will discuss each of those principles, what they mean and how to apply them to your holster on your body.
I want to lay out why concealing a gun can be a challenge in the first place.
All of our bodies are made up of organic shapes, curves, peaks and valleys. This poses a major challenge for us when we try to take an inorganically shaped object with harsh corners, and attempt to make it disappear on our organically shaped body. Keep this in mind as we discuss the science behind making inorganic shapes disappear on organic shapes.
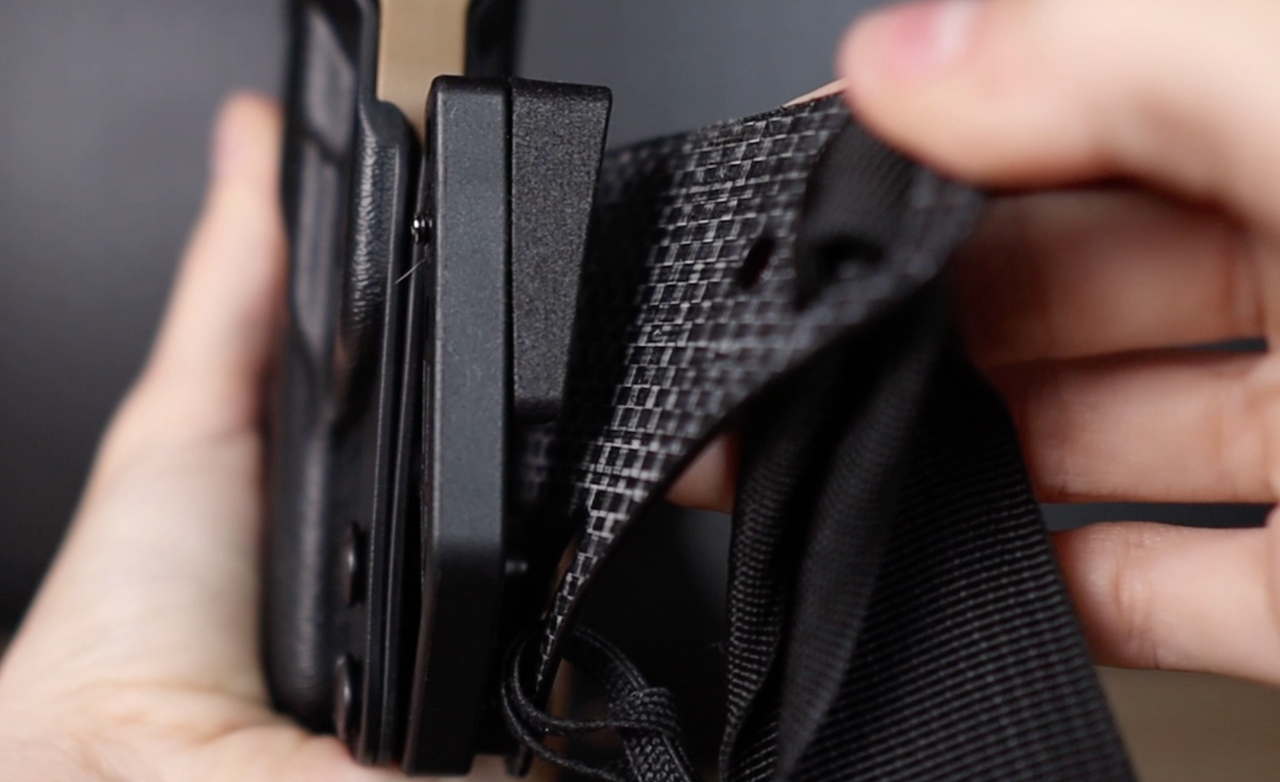
Typically the grip of the gun poses the biggest challenge when it comes to concealment. If we don’t take intentional steps to cause the grip of the gun to make contact with our body, then it will naturally poke out and cause noticeable printing, this is why grip tuck is a key component to concealment. We achieve grip tuck by using concealment features like wings and wedges and pairing those with pressure from a belt or an enigma. Without pressure, neither of these features will cause meaningful grip tuck.
This video discusses the three key principles for good concealment, with examples.

The next most likely portion of the gun to cause printing is the top of the slide. If the top of our gun is tipping out and away from our body then the top of the slide, rear sight, or even our optic can be seen through our clothing.

This concealment problem is also solved by using concealment features like wings and wedges. Angled wings like the Dark Wing and the Modwing with the EMOD wing inserts interact with belt pressure and cause the top of the gun to tip slightly closer to the body than the bottom portion of the gun, acting like a fulcrum. Although these angled wings can create enough slide tuck for some people, many people will also need the help of a wedge to tuck the slide of the gun closer to the body. To learn more about wedges, and how to use them you’ll want to check out our holster wedge deep dive dedicated to that topic.
Earlier we talked about how we are all made up of organic shapes with curves, peaks and valleys. It’s because of this that it’s important that we are intentional about where we place the gun on our body. To learn more about placement, and finding your concealment sweet spot, visit our comprehensive concealment resources page.