Light Bearing Enigma Assembly


A relaxed paced, beginner-friendly walk through of the entire Light Bearing PHLster Enigma assembly process. The techniques in this video can be adapted for right or left hand use.
Your Enigma may have come with an updated buckle capture. Instructions for installing it can be found in the main instruction video. It installs on the Enigma faceplate just like the original, so you can follow the regular instruction video from here.
Your Enigma may have come with an updated buckle capture. Instructions for installing it can be found in the main instruction video. It installs on the Enigma faceplate just like the original, so you can follow the regular instruction video from here.
Your Enigma may have come with an updated buckle capture. Instructions for installing it can be found in the main instruction video. It installs on the Enigma faceplate just like the original, so you can follow the regular instruction video from here.
If you’re using the PHLster Floodlight holster shell, make sure you have your holster adjusted correctly. This is necessary to get good retention. Improper adjustment can cause safety issues, premature wear, and holster failure.
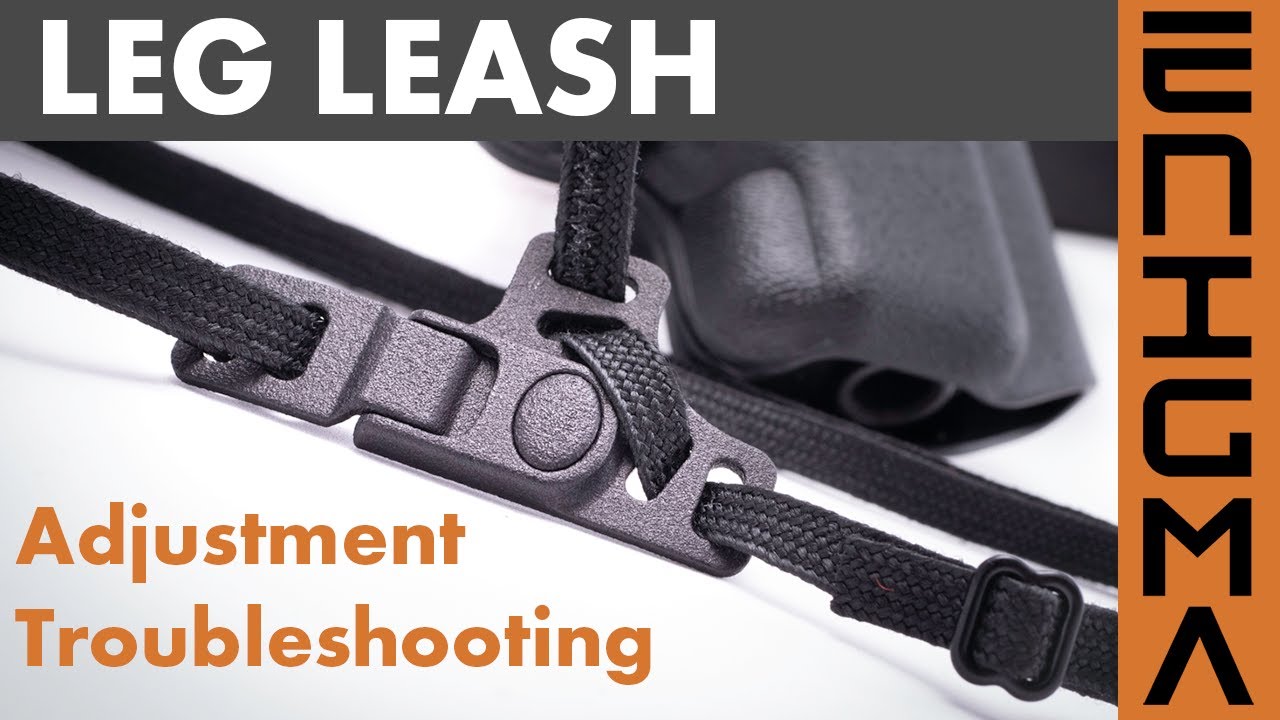
How to properly wear and adjust the PHLster Enigma Express leg leash. Learn the two different routing methods, and how to adjust the leg leash for best results on your body. Whether you’re just starting out with the Enigma, or whether you’re having issues that need troubleshooting, reviewing this video is the best place to start.
For more leg leash instructions and tips, see the leg leash section below.
Here’s how to install the sport belt on the Light Bearing PHLster Enigma. If you have the Enigma Express, the instructions are different – please see the Express page.
How To Use the Leg Leash
How to properly wear and adjust the PHLster Enigma Express leg leash. Learn the two different routing methods, and how to adjust the leg leash for best results on your body. Whether you’re just starting out with the Enigma, or whether you’re having issues that need troubleshooting, reviewing this video is the best place to start.
Smaller users – here’s how to shorten and trim your Enigma Express leg leash. Just be sure not to trim your leg leash before trying the different routing methods, and make sure you have enough material for any ride height at which you choose to carry your gun.
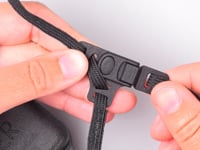
If your leg leash slips or loosens throughout the day, try this non-slip buckle routing method.
If you don’t find the leg leash material to your liking, you can easily switch it out for a material of your choosing. A common choice is 550 paracord with the core removed. When using different leg leash materials, be sure to review the Non-Slip Routing video to make sure your leg leash stays secure.
The optional Sport Belt accessory installs in place of the regular nylon belt that comes with the Enigma. The Sport Belt improves comfort and provides additional support with an elastic back panel.
The sport belt installs on the Enigma faceplate using the same hardware as the original belt. See the video below for more detailed instructions.
 The Reduced Size Buckle is an optional replacement for the magnetic buckle that comes with the Enigma. It’s recommended for smaller users, or people who want extra space on their belt to carry other gear. If the regular buckle sits on your hip bone and causes a pressure point, try this one.
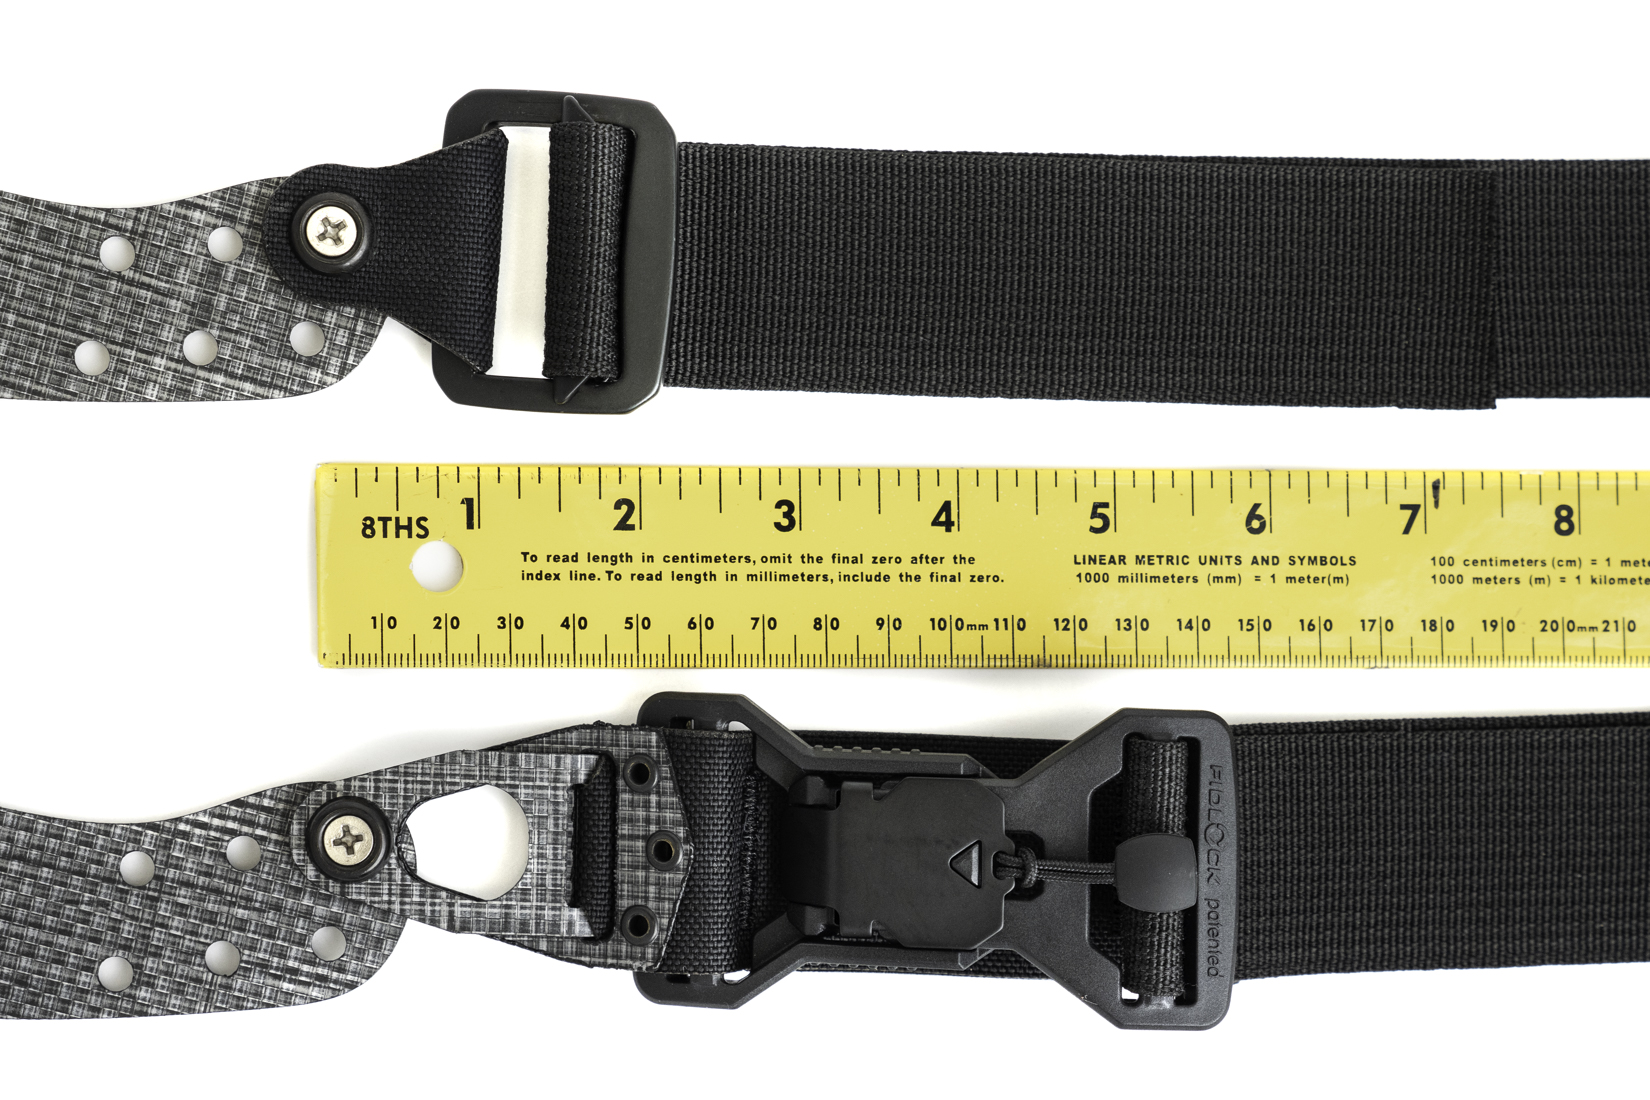
- Reduces buckle span by 3″
- Recommended for smaller users (30″ waist or below)
- Takes up less space, allowing you to accommodate additional gear items
- Attaches with the original hardware included in the Enigma hardware kit
To install, simply remove the original buckle capture and magnetic buckle from your Enigma faceplate, and install the Reduced Size Buckle in its place using the same hardware. It installs directly to the Enigma faceplate.
Standard Enigma Accessories

This video shows how to install and adjust the Sport Belt. Note that the Sport Belt adjusts from both sides, so you can easily change the centering of the back pad.
The Sport Belt is an optional Enigma accessory that improves comfort, and helps keep the Enigma belt tension more consistent.
If you’re using the PHLster Floodlight holster with your Light Bearing Enigma, proper adjustment is critical to your success.
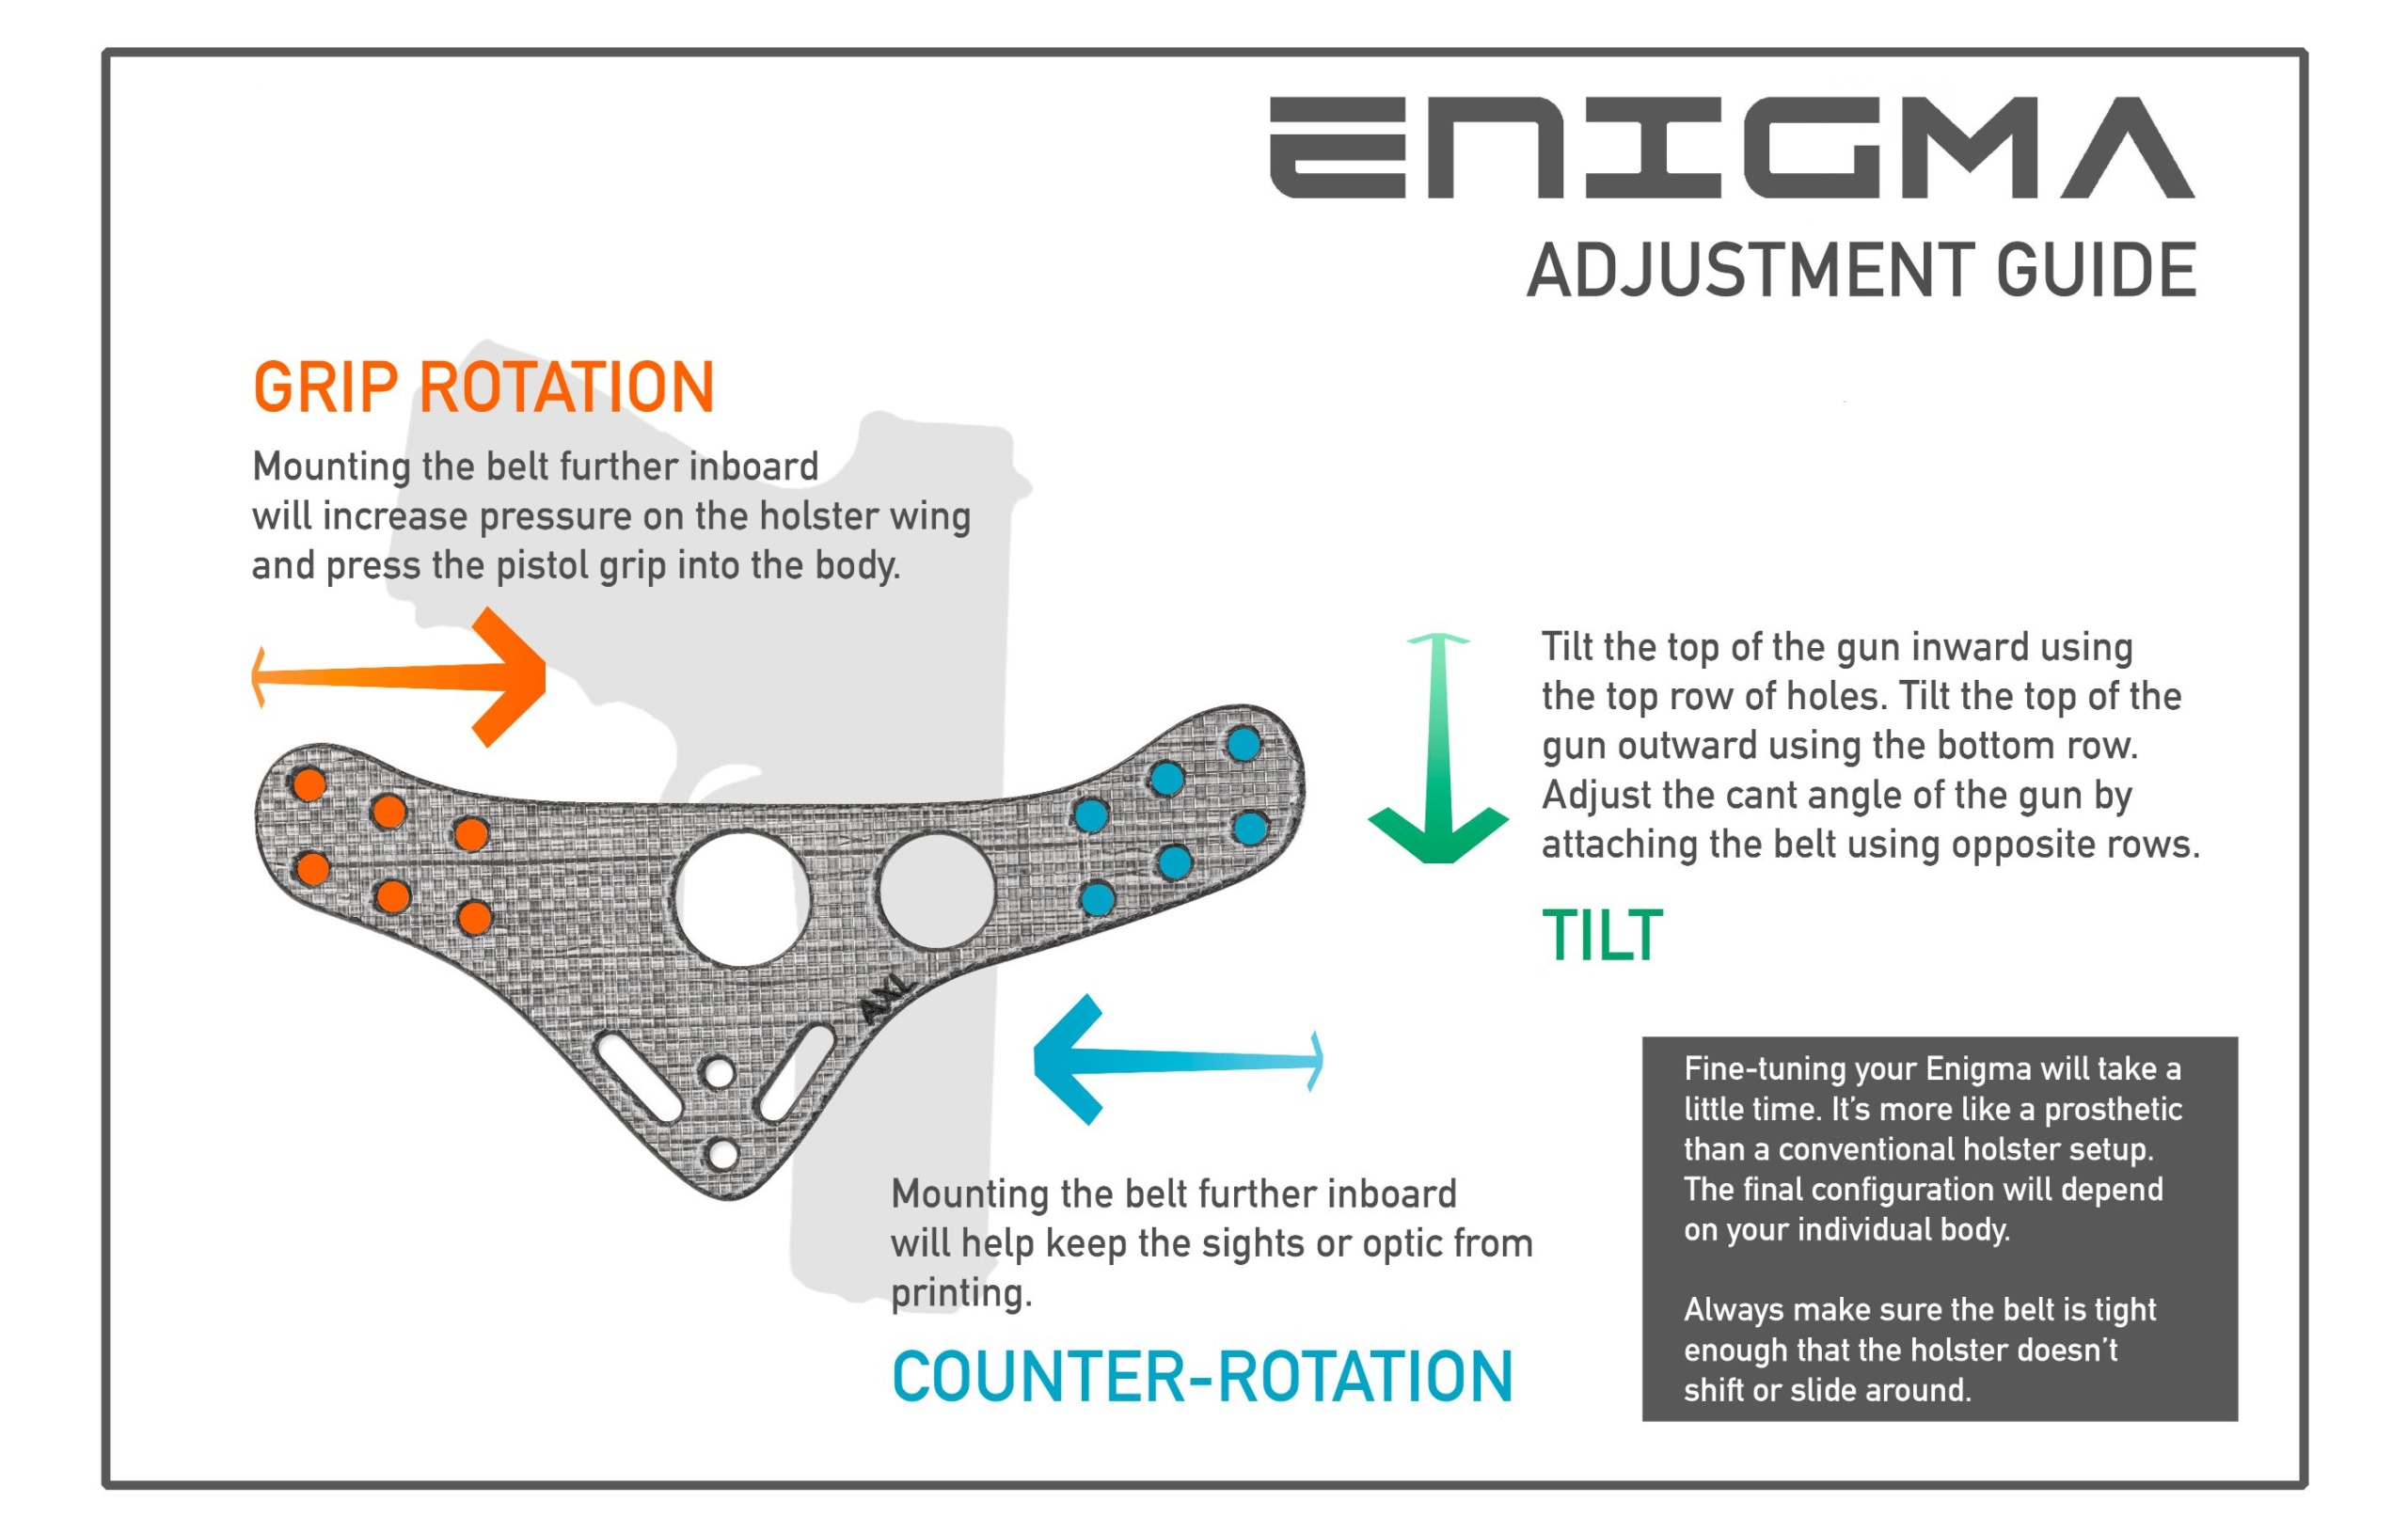 The Light Bearing Enigma has four belt attachment holes on either side of the faceplate. These work the same as the holes in the Standard Enigma faceplate. They control grip tuck, grip rotation, and optic printing. Please watch the Standard Enigma Poke and Check video below for instructions on how to determine which belt attachment holes are best for your body shape.
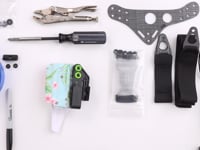
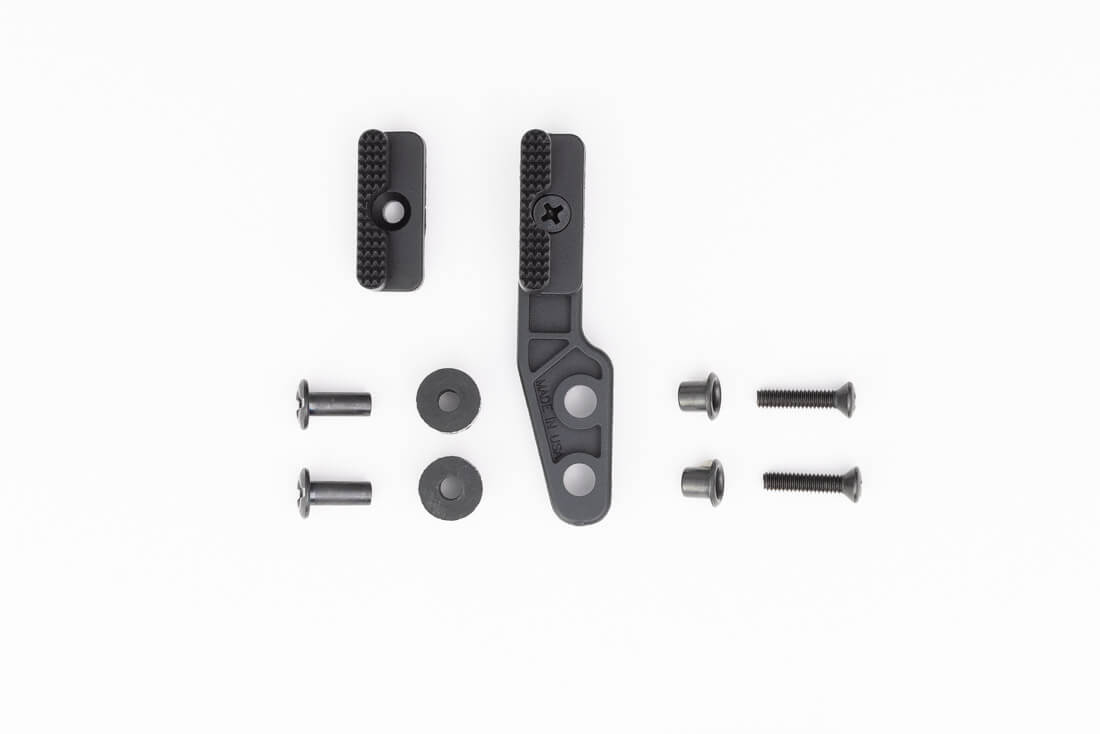 To make gross adjustments to the amount of grip rotation you get, you can change your light bearing Modwing inserts. A light bearing Modwing will come with a short and tall insert (top left of picture).
The tall insert will give you the most grip rotation (more than is necessary for most guns). The short insert will give you moderate grip rotation. Using the wing alone, with no insert, will give you the least amount of grip rotation.
If in doubt, start with the short Modwing insert.
Please note: If you’re not getting enough grip rotation with your light bearing holster, consider adding a wedge instead of increasing the wing height. Since light bearing holsters are wider and flatter, they tend to resist the action of the wing, which adds stress to the holster and can lead to cracks and premature wear. Wedges can give you precise control over grip tuck and rotation, and also tend to make your setup more comfortable, as well.
Also note: Only use a light bearing Modwing on a light bearing holster. Never use a standard Modwing, as it will crack your holster shell.
If you have a first gen Light Bearing Enigma with the leg leash tab that sticks out, this is for you.
The LBE was designed for the Floodlight holster, which accommodates full size lights and duty-sized weapons. If your holster shell is smaller than the floodlight, the leg leash attachment point may stick out past the shell, which can make it dig into your thigh when seated.
NOTE: Normally we say not to crease the faceplate material, however the leg leash is a low stress part, so this is fine.
DO NOT CUT OR MODIFY YOUR FACEPLATE. See the Enigma Safety page for more details.
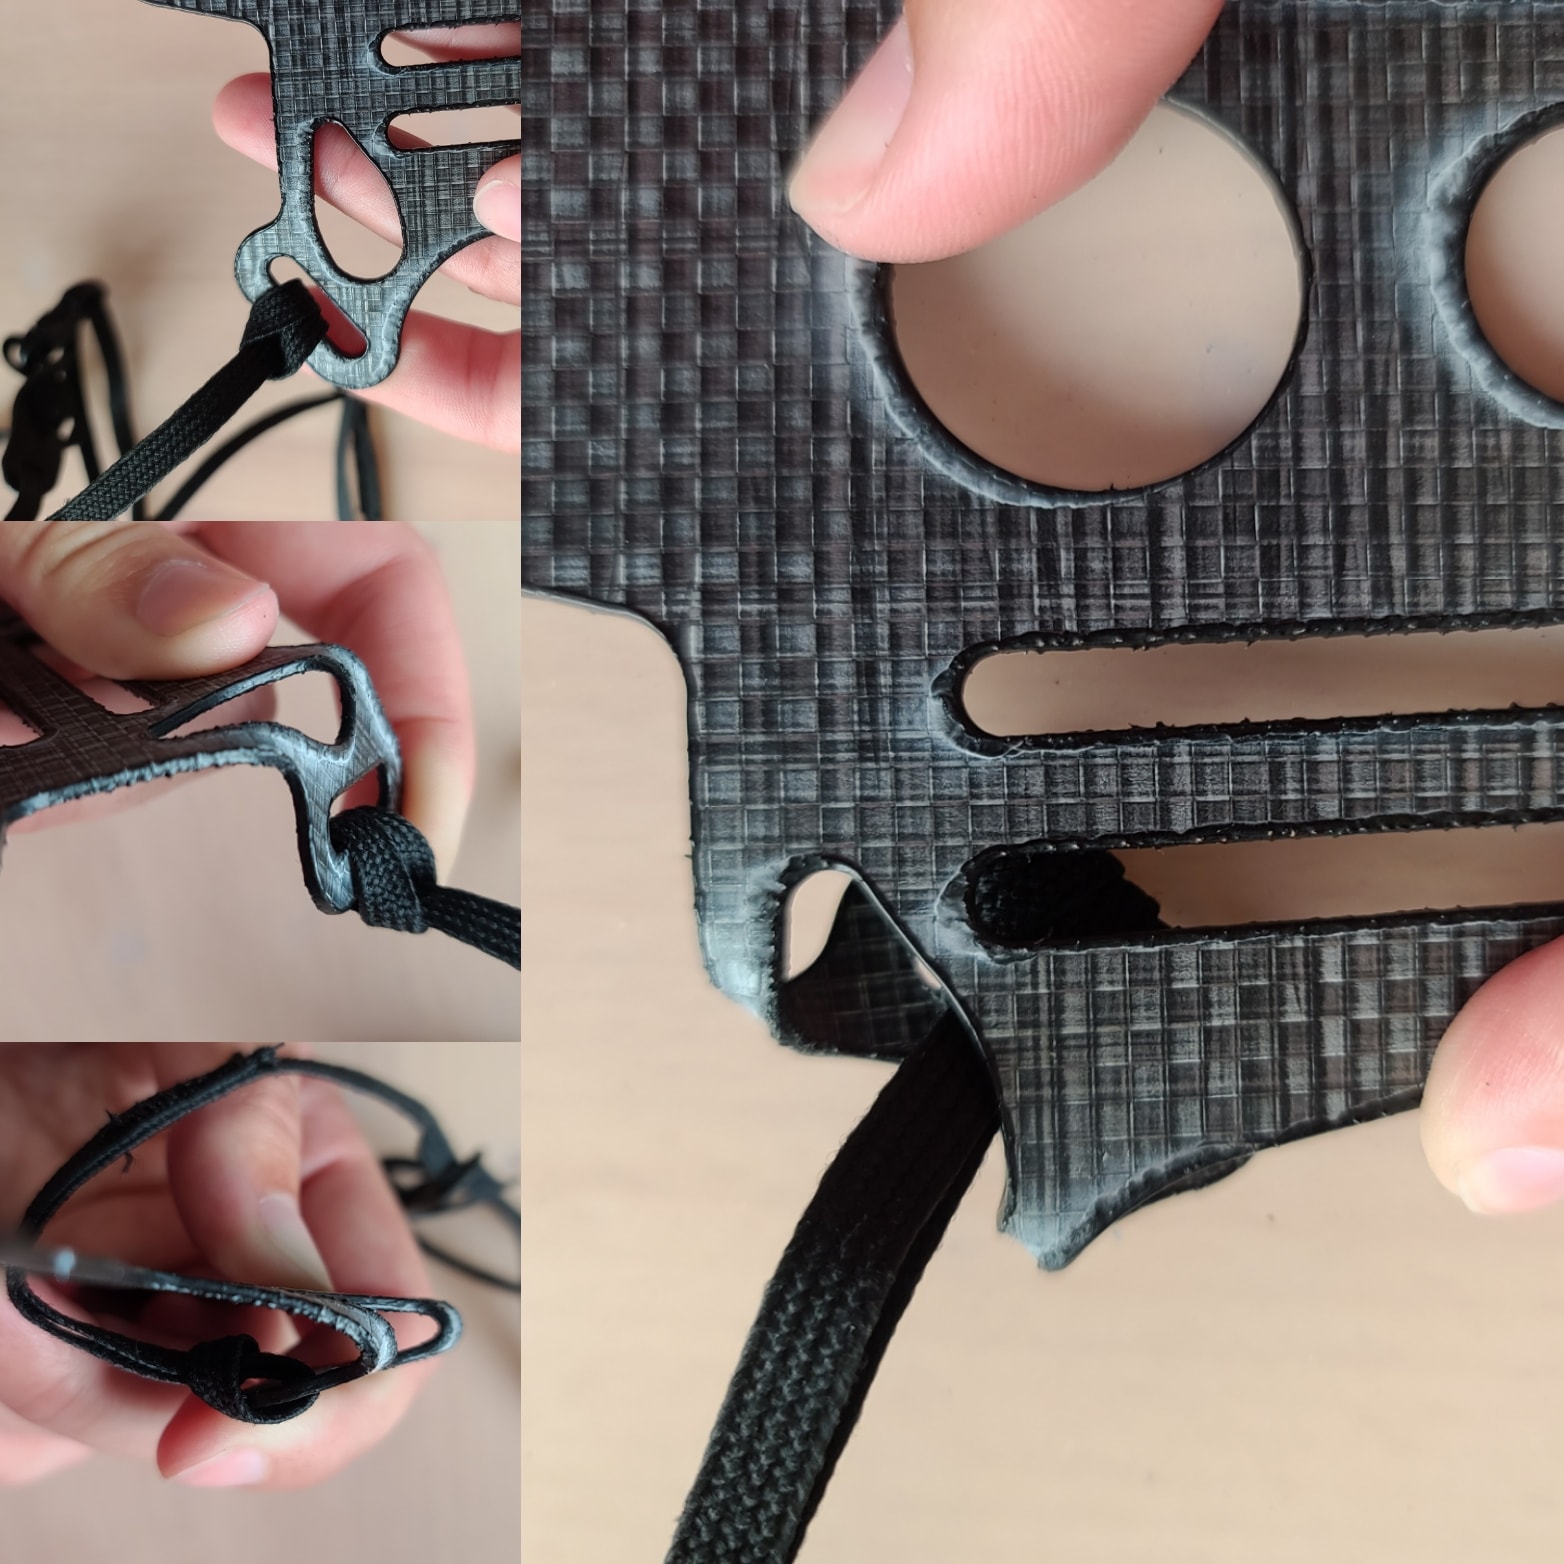
Smaller users may need to shorten the leg leash drop. You can do this by fastening the leg leash through one of the larger faceplate holes rather than through the leg leash slot. See the video below for more detailed information.
If you’re having problems with your gun being too tight or too loose in the holster, first double check that you have the correct holster shell for your gun and light model. Aftermarket modifications to the gun may cause problems with retention.
Next, read this article on how holster retention works, and test your retention as shown. Do not test holster retention by shaking the holster upside down – that is not the correct way to test.
If you’re using the PHLster Floodlight holster, MAKE SURE you have adjusted your holster correctly using the instructions.
If these steps don’t resolve your issue, you can contact the manufacturer of your holster shell for help. Before you do so, please make sure you’re testing your holster retention correctly.
Reminder: Do not test holster retention by shaking your holster upside down.
The Enigma is a skeleton. You start with the basic bone structure, and then you flesh it out to suit your body shape and your individual comfort needs. Since everyone is different, it takes some experimentation and customization to get the level of comfort and concealment you want.
The Enigma is designed to be a hardcore piece of fighting equipment that can survive extreme scenarios. In order to make it hold up to those demands, we chose materials for strength and rugged durability. The Enigma is designed to be ergonomic and adjustable – but it’s NOT soft.
Skin comfort is an important factor in overall concealed carry comfort, and that’s why we made the Enigma as open to customization as possible. The easiest way to achieve skin comfort is just to wear an undershirt, camisole, underwear, or a bandeau under your Enigma. However, if you prefer to wear your Enigma directly against the skin with no undergarments, there are a variety of comfort solutions available, from aftermarket covers to sport belts to creative DIY solutions. You can choose whatever mods you need to get to your desired level of skin comfort. Like everything Enigma, expect it to take some experimentation.
You can add a wedge to your holster to improve both comfort and concealment. Learn more about wedges.
DIY tutorial on how to make your own wedge.
We welcome you to join the PHLster Concealment Workshop group on Facebook. It’s a large and active community with people from all walks of life. See how other people are wearing their Enigmas, and get inspiration for mods and adjustments. You can see the Enigma in action on people with different body shapes, with different wardrobes.
Light Bearing Enigma Adjustments

Here’s how to use the Poke and Check method to adjust your Enigma. This will help you figure out which belt attachment holes are right for your body. Note that while this video is for the Standard Enigma, the same principles apply to the Light Bearing Enigma.
Here’s how to shorten and trim your Enigma leg leash. If you find you can’t get the leg leash drop short enough, this will help. Loop the leg leash through one of the larger faceplate holes rather than through the leg leash slot.
Proper adjustment of your PHLster Floodlight holster will prevent a lot of problems.